Python Computer and Raspberry Pi
Preparation#
On July 30, I received my first Raspberry Pi, purchased at Element 14. After a one-month wait, it arrived in the mail, albeit late from Belgium – 9 pm. In reality, it arrived around lunchtime, but since I wasn’t home, the postman left it as regular mail.
The box is small, like a credit card. In fact, I found the computer amidst other letters.
[![]() ]
]
The problem is that there were no shops open to buy a USB hub or any other accessories, in case I needed them. The only option was to improvise.
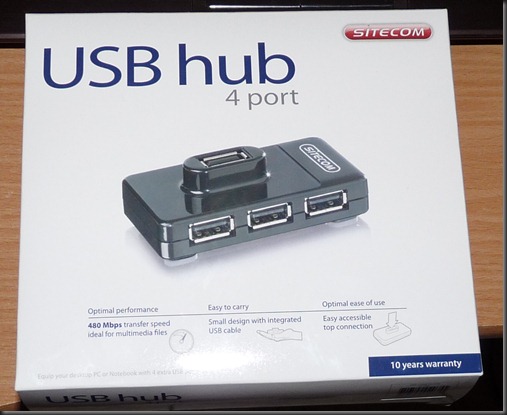
I knew I’d need a USB hub with power, as the Pi’s USB doesn’t provide enough power. So, on Saturday, while visiting the supermarket, I bought a 4-port USB hub (€12).
I also bought two 4GB and 8GB SD cards (€5 each), as the Pi can only boot from an SD card. The 4GB class 10 card worked perfectly, but I couldn’t notice any performance difference.
Before connecting the Raspberry Pi, I set up a makeshift workbench on the floor using a monitor box and a sheet of A4 paper to gauge its size. I estimate that nine Raspberry Pis could fit on an A4 sheet!
This board contains a System on a Chip (SoC) manufactured by Broadcom, specifically the BCM2835 in the B model:
- Processor: ARM1176JZF-S (armv6k) running at 700 MHz
- RAM: 256 MB
- USB ports: 2 x USB 2.0
- Ethernet port: 1
- GPU: Broadcom VideoCore IV
- SD card reader
- HDMI output
- Composite video (RCA connector)
- Audio jack (3.5 mm)
- GPIO/UART/I2C/SPI connector
- Dimensions: 85.60 x 53.98 mm
- Weight: 45g
A true microcomputer without a fan and at a low cost (€35 with shipping).
To connect it to my TV, I borrowed an HDMI cable from a friend.
[![]() ]
]
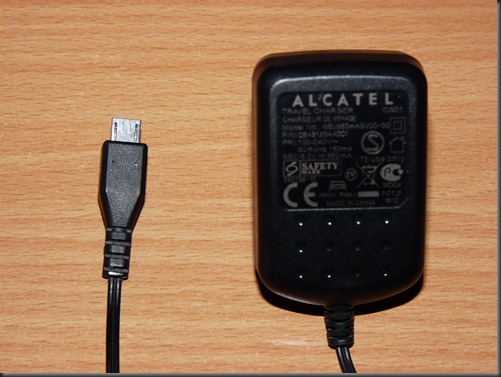
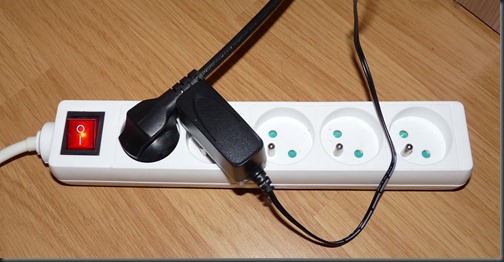
Mouse and keyboard I used the ones from my notebook. Finding a Micro B USB cable was challenging, so I ended up using a car charger (€6).
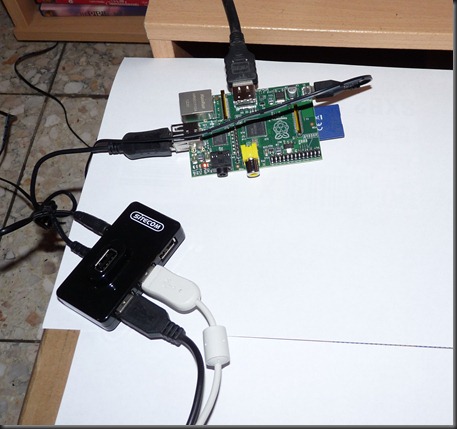
The setup looked like this:
It’s essential to handle the Raspberry Pi with care when connecting and disconnecting it, as it does not have a housing. All precautions against static electricity should be taken.
Don’t force the connectors, and most importantly, remember that the Pi doesn’t have an On/Off switch: plug in the power, and it boots up!
Initially, I tried to use the keyboard, but it didn’t respond. The Pi even froze at one point.
After some troubleshooting, I realized that the car charger only provided 300 mA of power, which wasn’t enough for the Pi’s needs.
I swapped it with a USB cable connected to my iPhone’s charger and later switched to a powered hub. With the correct power source, everything worked fine.
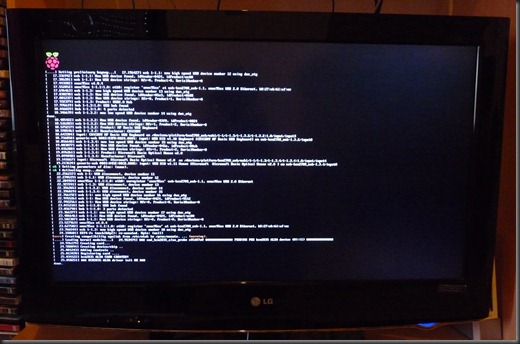
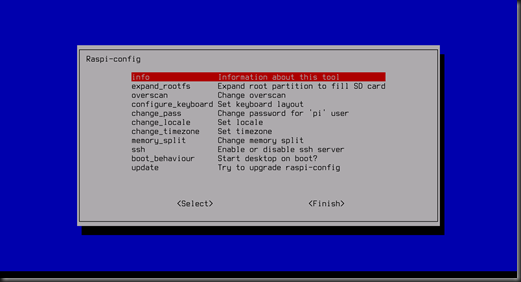
When booting up or running sudo raspi-config, you’ll see the simplified configuration utility:
To configure the console font size, edit the /etc/default/console-setup file as root:
sudo vim /etc/default/console-setup
Change FONTFACE to TERMINUS and FONTSIZE to 16x32.
Create a ~/.vimrc file with the following lines to customize your Vim experience:
syntax on set ts=4 set expandtab set shiftwidth=4 set softtabstop=4 set smartindent set number set cindent set nowrap set go=+b
autocmd BufRead *.py set makeprg=python\ -c\ "import py_compile,sys; sys.stderr=sys.stdout; py_compile.compile(r’%’)"
autocmd BufRead *.py set efm=%C\ %.%#,%A\ \ File\ %f\"\\, line\ %l%.%#,%Z[%^\ ]%\\@=%m
autocmd BufRead *.py nmap
Create a new user called python:
sudo useradd –m –s /usr/bin/ipython python
Edit the inittab file to configure the terminal 6 to use the ipython shell:
sudo vim /etc/inittab
Modify the line corresponding to terminal 6 (line 59):
6:23:respawn:/sbin/getty 38400 tty6
Change it to:
6:23:respawn:/sbin/getty 38400 tty6 –a python
This will run ipython in terminal 6 without prompting for login. To access the terminal, press ALT+F6.
To edit a file from within ipython, use the command: edit nomedoarquivo.py
If the file doesn’t exist, it will be created.
For those who prefer a more user-friendly editor, you can install joe:
sudo apt-get install joe
Add the following line to your /etc/profile file to set joe as the default editor:
export EDITOR=/usr/bin/joe
joe is a more user-friendly editor with features similar to Wordstar/Sidekick and Turbo Pascal.
To run PyGame programs, modify the line that sets the color depth to 16-bit colors (0x10).
In the Invasores game, edit the video.py file and change the modo method in the Video class:
self.tela = pygame.display.set_mode(dimensao, 0, 16)
After making these changes, you can run the Invasores game in framebuffer mode.
Even with these changes, I was unable to run the game at resolutions higher than 1024x768.
If you prefer using a text mode interface, you can use screen to split your terminal into multiple windows. This is useful for running programs and reading documentation or editing sources simultaneously.
As an alternative to the Raspberry Pi’s built-in power button, you can use a simple switch with a ruler to turn it on and off:
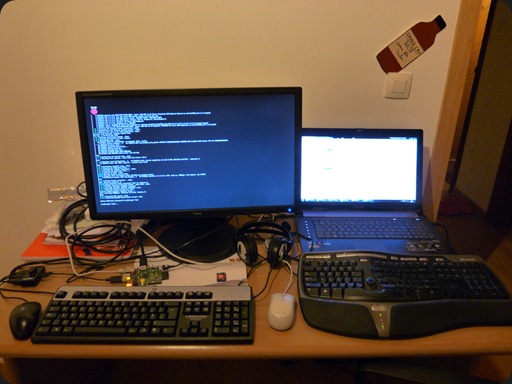
For internet access, I configured the Windows 7 host to share its internet connection with the Raspberry Pi. This allowed me to use the notebook’s WiFi to connect to the Pi. Additionally, I used WinSCP to transfer files between the notebook and the Pi, as well as for SSH sessions.
Here’s a photo of my makeshift setup:
Cost#
| Item | Price |
|---|---|
| Raspberry Pi | €35 |
| 4-port USB hub | €12 |
| 4GB SD card | €5 |
| 8GB SD card | €5 |
| Keyboard | €10 |
| Mouse | €12 |
| HDMI cable | €6 |
| Monitor | €150 |
Total: €230
Note that the prices listed are approximate and may vary depending on the retailer.
Conclusion#
The Raspberry Pi is a fascinating device, but it’s primarily geared towards developers who enjoy working with Linux. As the drivers mature, performance should improve. I believe we’ll soon see browsers with HTML5 support and a more polished XBMC experience. For now, using Python in console mode has caught the attention of the kids at home, as a special way to program and create games. The fact that they can see the computer open with blinking lights also sparked their interest. Another advantage of the Pi is that it doesn’t run Facebook, Twitter, or YouTube.
I’d like to measure the difference between using the Raspberry Pi in comparison to rich interfaces like Windows.


